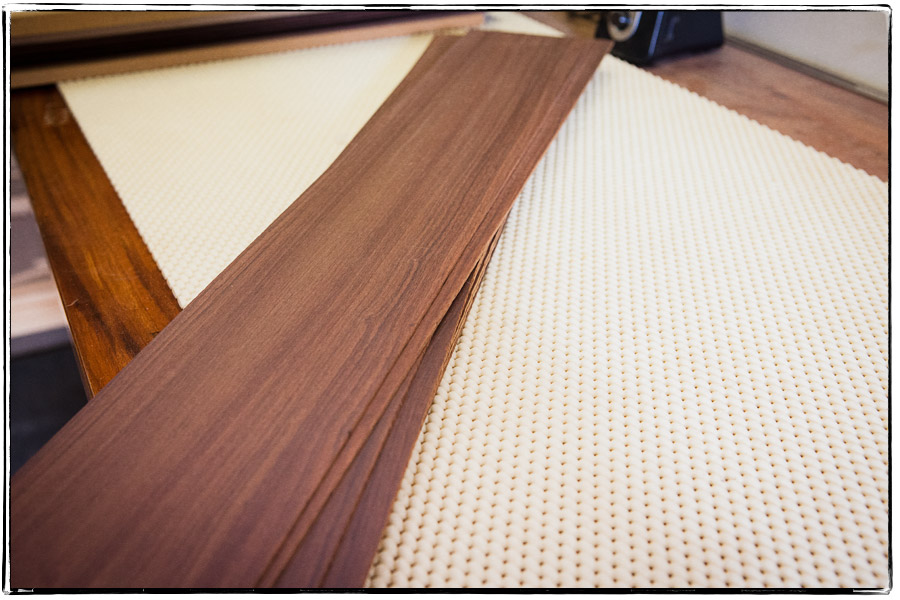
The bindings, wow that was rather a challenge but very rewarding to see the final result i had always looked at guitars and tried to image the complicated machinery that must be needed to achieve the precision surgical like tight fit but it was a piece of cake once Phil showed me a few tricks of the trade.
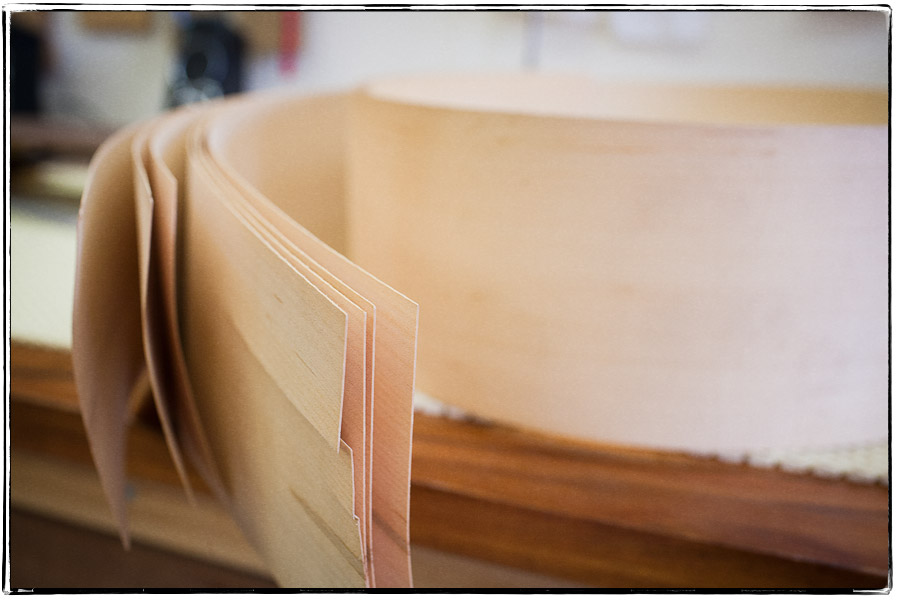
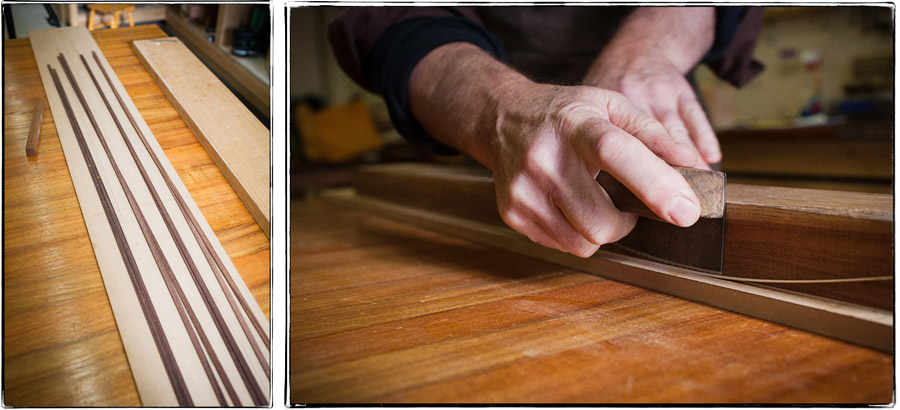
The process. Measure and cut strips from Indian rose wood sides, cut strips of veneer with the fancy veneer cutter, coat one side of the binding with super glue and clamp put aside and allow to dry. Trim excess veneer flush with binding using block and cutter, mark out binding length against sound box including side veneer and cut lengths, apply a generous amount of wood glue, work fast gluing in the veneer strip then applying more glue add binding then tape with masking tape stretching tape to create tension on the binding to act as a clamp.
Plane excess off binding almost flush then use scraping tool, the scrapper tool would have to be the most scary but efficient tool in the work shop basically a piece of steel filed flat with a hard steel edge tool run across the flat to create a bur, feels like the natural enemy of soft ceder top but works like a charm, finish off with the orbital sander to reveal an almost perfect finish.


